Your first connected project
Go from an account to a live view of your data.
Before you start
You need an Aviato account, a database you are allowed to connect, and somewhere to run the Aviato agent. Start with a development database or a read-only database user while you explore.
1. Create a workspace and project
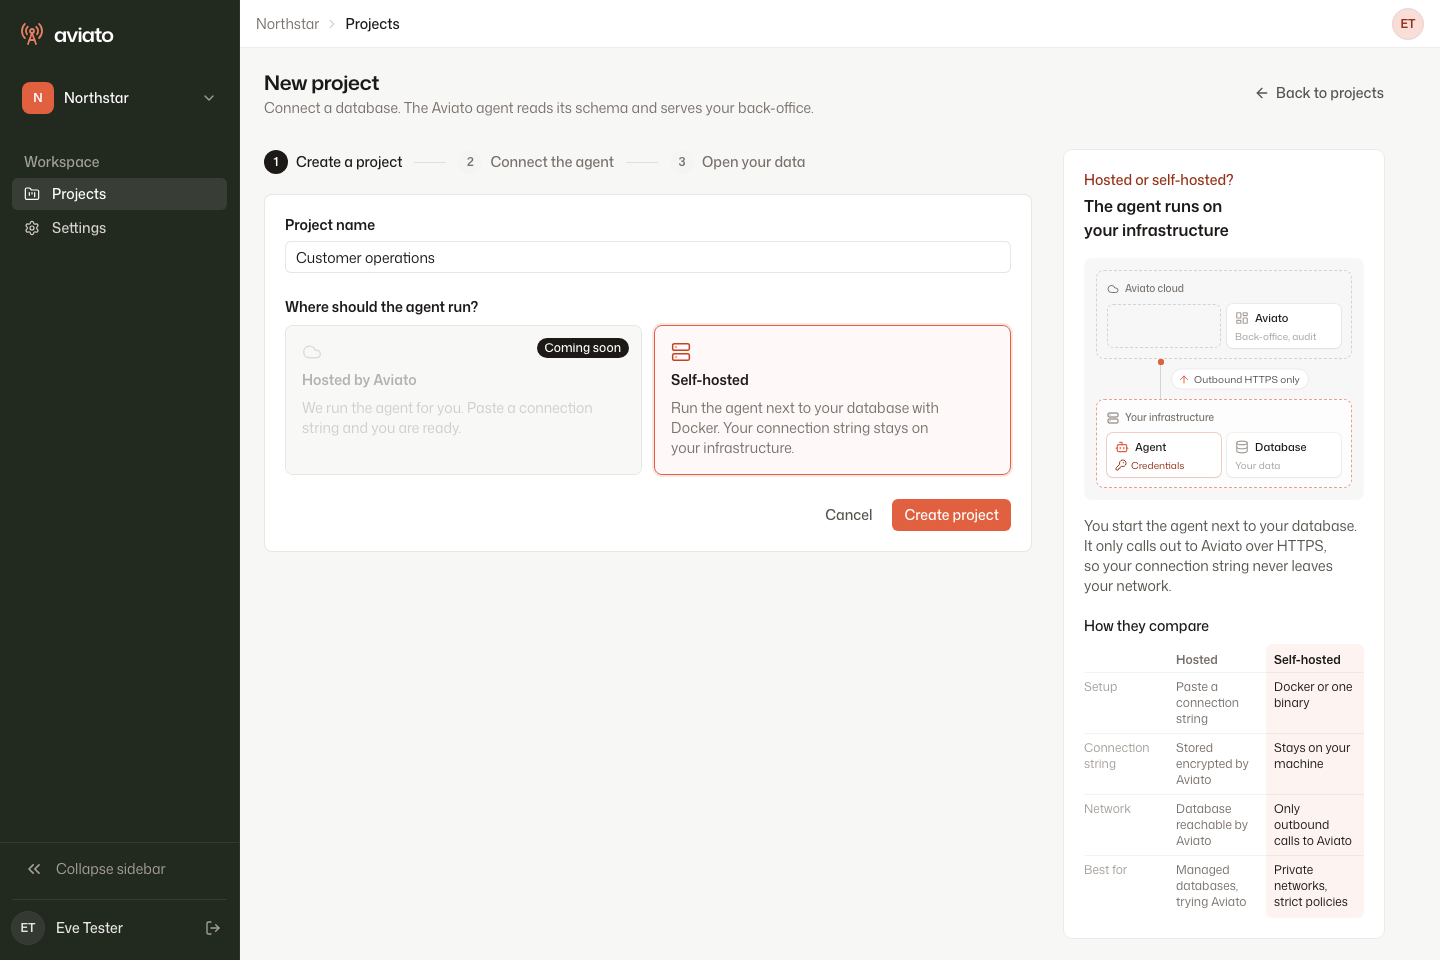
Open the dashboard, create a workspace, and create a project. A workspace holds your team and billing; a project represents one application. Each project has environments with separate connections and agent credentials.
Choose Self-hosted to run the agent in your own infrastructure. Copy the agent token when it is displayed. Store it as a deployment secret: it authenticates your agent to Aviato, and is not a token to give to browsers or MCP clients.
2. Connect the database agent
Follow agent setup. Configure the control-plane URL, token, database URL, and a public HTTPS URL reachable by your team's browsers.
Keep the agent's data directory on a persistent volume. It contains the audit outbox and recovery state.
3. Browse a collection
When the agent connects, open a collection in the project. Aviato discovers tables, fields, and database relations. Check a few records and confirm the environment before making changes.
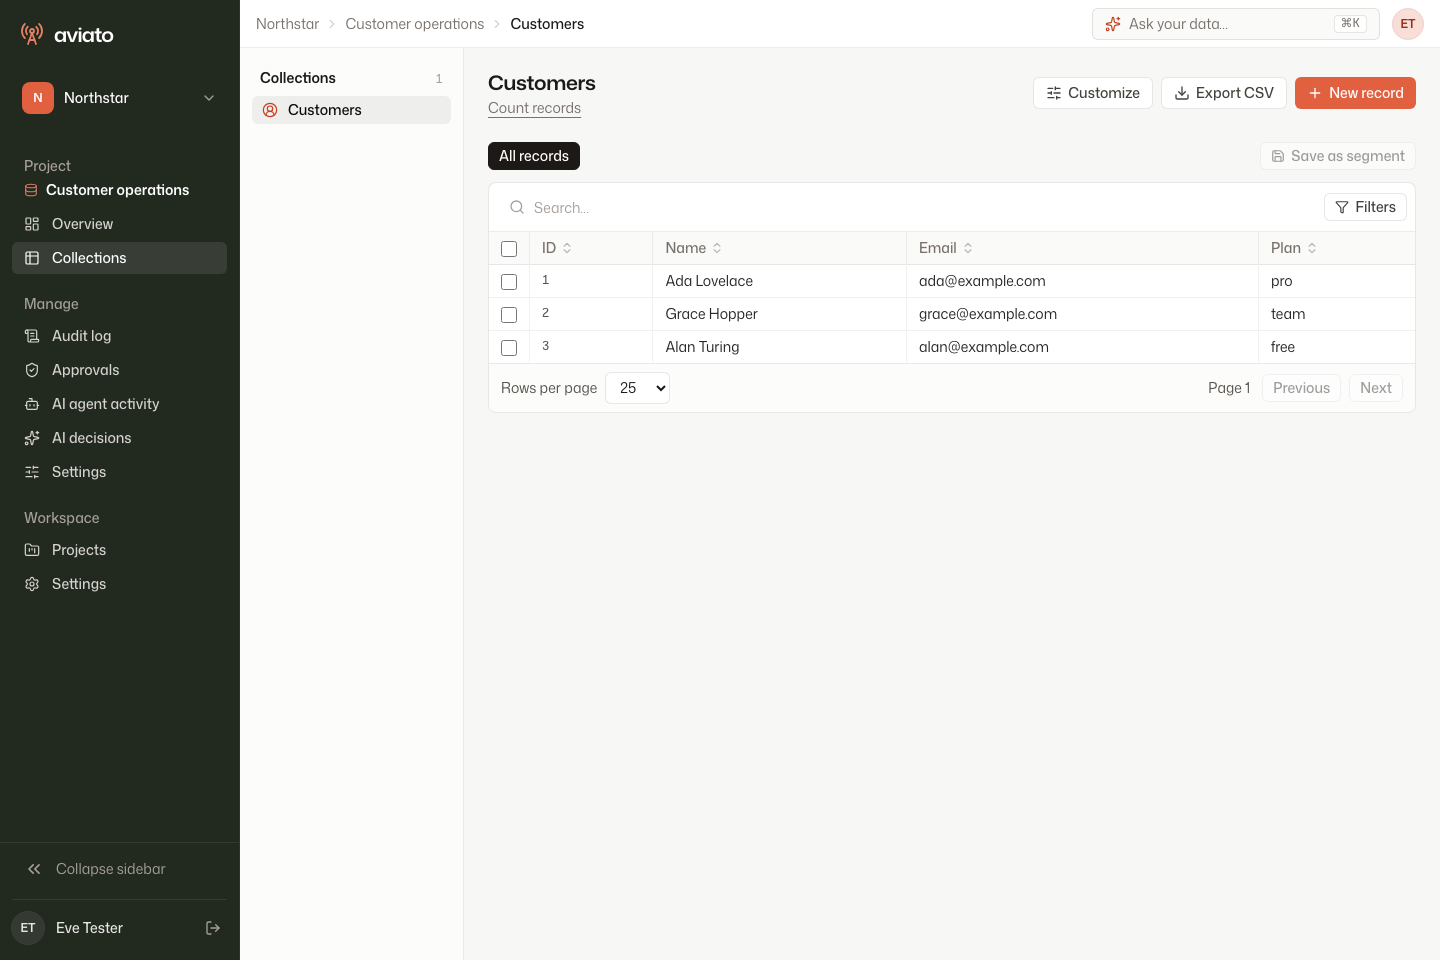
The record guide explains filters, editing, notes, and exports.
4. Invite your team
Invite people from workspace settings and choose their role. Start with viewer access for people who only need to inspect data. Use custom project roles when access must be restricted by collection, field, or row.
5. Extend when needed
Database browsing works without an SDK. Add an SDK plugin for business actions, computed fields, hooks, or custom collections. Connect an MCP client when you want an AI agent to work with the same data.